Configuring our e-commerce integration allows you to add your WooCommerce products and orders to Mailchimp. This allows you to see exactly how much revenue each email campaign is generating and what products individual subscribers purchased from your store. So how does this all work?
First, we recommend starting out by subscribing your customers from your WooCommerce checkout. While you don’t have to do this as non-subscribers will still show up in your email list whenever they place an order at your store, you can only send them a select set of so called “transactional emails” unless they actually subscribe to your Mailchimp list. The following screenshots shows how to distinguish between a transactional subscriber and an actual subscriber.

Connecting your WooCommerce store
Before we proceed with adding your WooCommerce orders to Mailchimp, please ensure you did connect your WooCommerce store with Mailchimp.
Adding all past orders to Mailchimp
After your store is successfully connected with Mailchimp, adding all of your past orders to Mailchimp should be as simple as clicking a button.
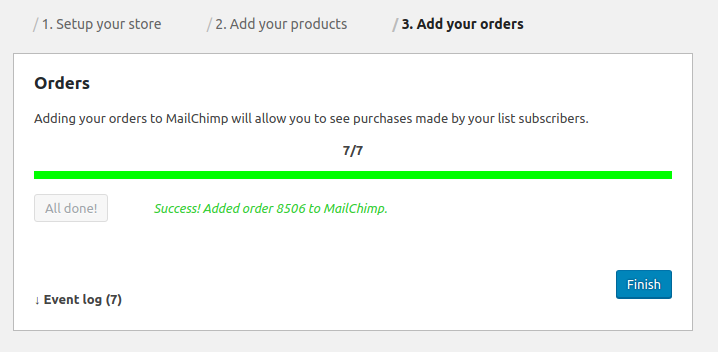
If an error occurs while the plugin is adding your orders to Mailchimp, click on the event log to view additional details about what went wrong.
Adding new (future) orders to Mailchimp
In the previous step, the plugin synchronised all existing orders with Mailchimp. But what about new orders, you might ask?
![]()
If you have enabled order tracking in the e-commerce settings section then the plugin will automatically send new orders to Mailchimp as they come in. The plugin does this using a so called “background job queue”. This means that visitors will not notice any delay in page load times. It also means that there is a slight delay before orders show up in Mailchimp. By default, this delay should be around 5 minutes.