Installing and activating Mailchimp for WordPress Premium is much like installing and activating any other WordPress plugin.
Since the Premium add-on plugin depends on the free Mailchimp for WordPress plugin, please make sure you have that installed and activated first.
Activating Mailchimp for WordPress Premium
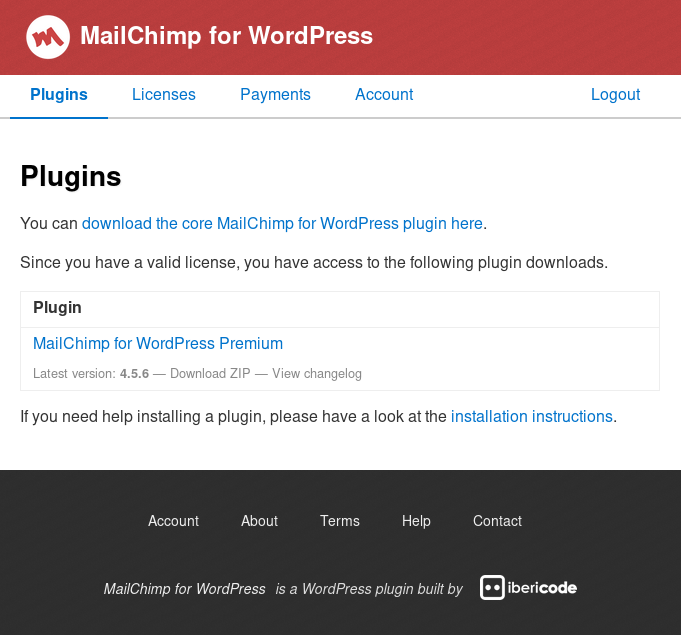
After purchasing a license you should be able to log in to our account area right away.
From there, you can download the Premium plugin, access your invoice and manage your plugin license .
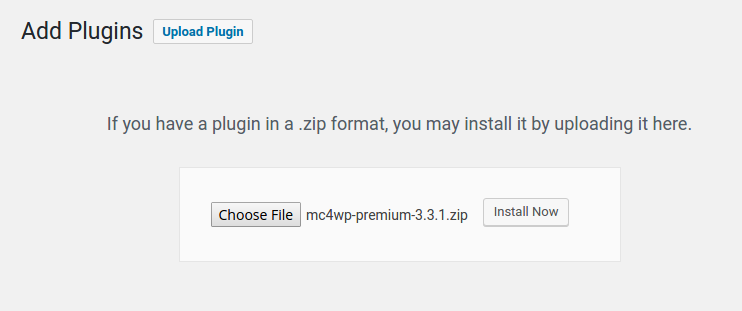
Download the .zip file to your computer and login to your WordPress admin area. It is not necessary to extract the .zip file.
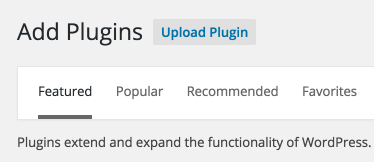
Then, go to “Plugins > Add New” in your WP admin and click on the “Upload Plugin” link at the top of the screen.
You’ll be presented with the following screen where can you browse your computer for the .zip file you just downloaded. After selecting it, click “Install now”. The Mailchimp for WordPress Premium plugin will now be installed in your WordPress site.
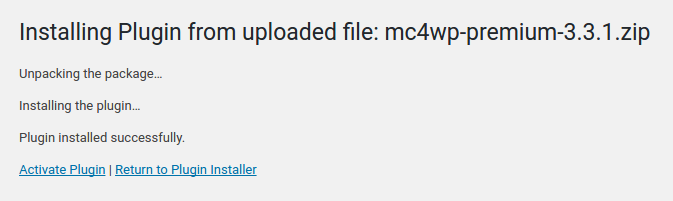
After successfully installing the plugin, click “Activate plugin“ to activate the plugin.
That’s it, you now have access to the premium features of Mailchimp for WordPress. Hooray!
Activating your plugin license
You will need to activate the license you received right after purchasing the plugin in order to be able to install plugin updates.
To do that, go to MC4WP > Other in your WP Admin and locate the “Plugin license” section.
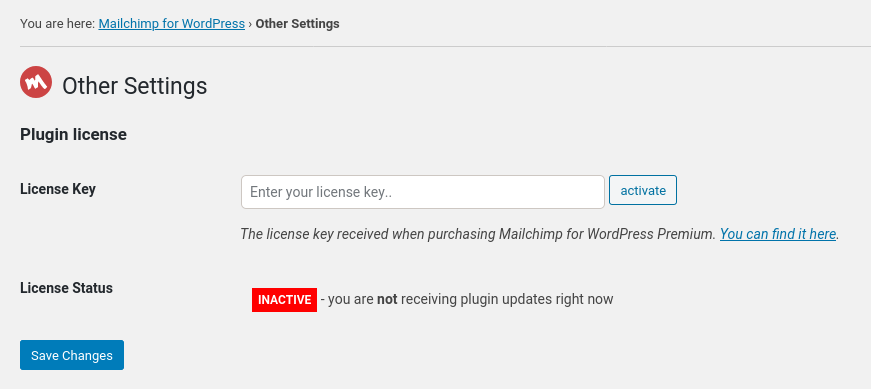
Copy your license key from the purchase receipt, paste it in the license key field and click the “Save Changes“ button.
The plugin will detect the new license key and automatically attempt to activate it. Alternatively, click the “activate” button to manually attempt activating your license.
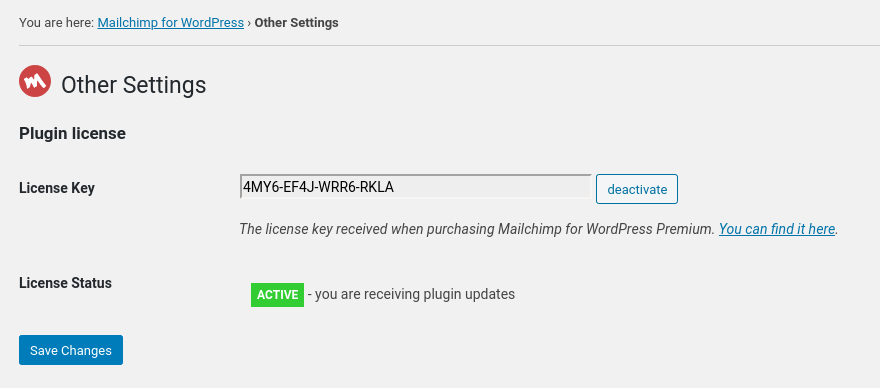
That’s it! Mailchimp for WordPress Premium is now installed and correctly configured to receive plugin updates. You’re all set to grow your lists!